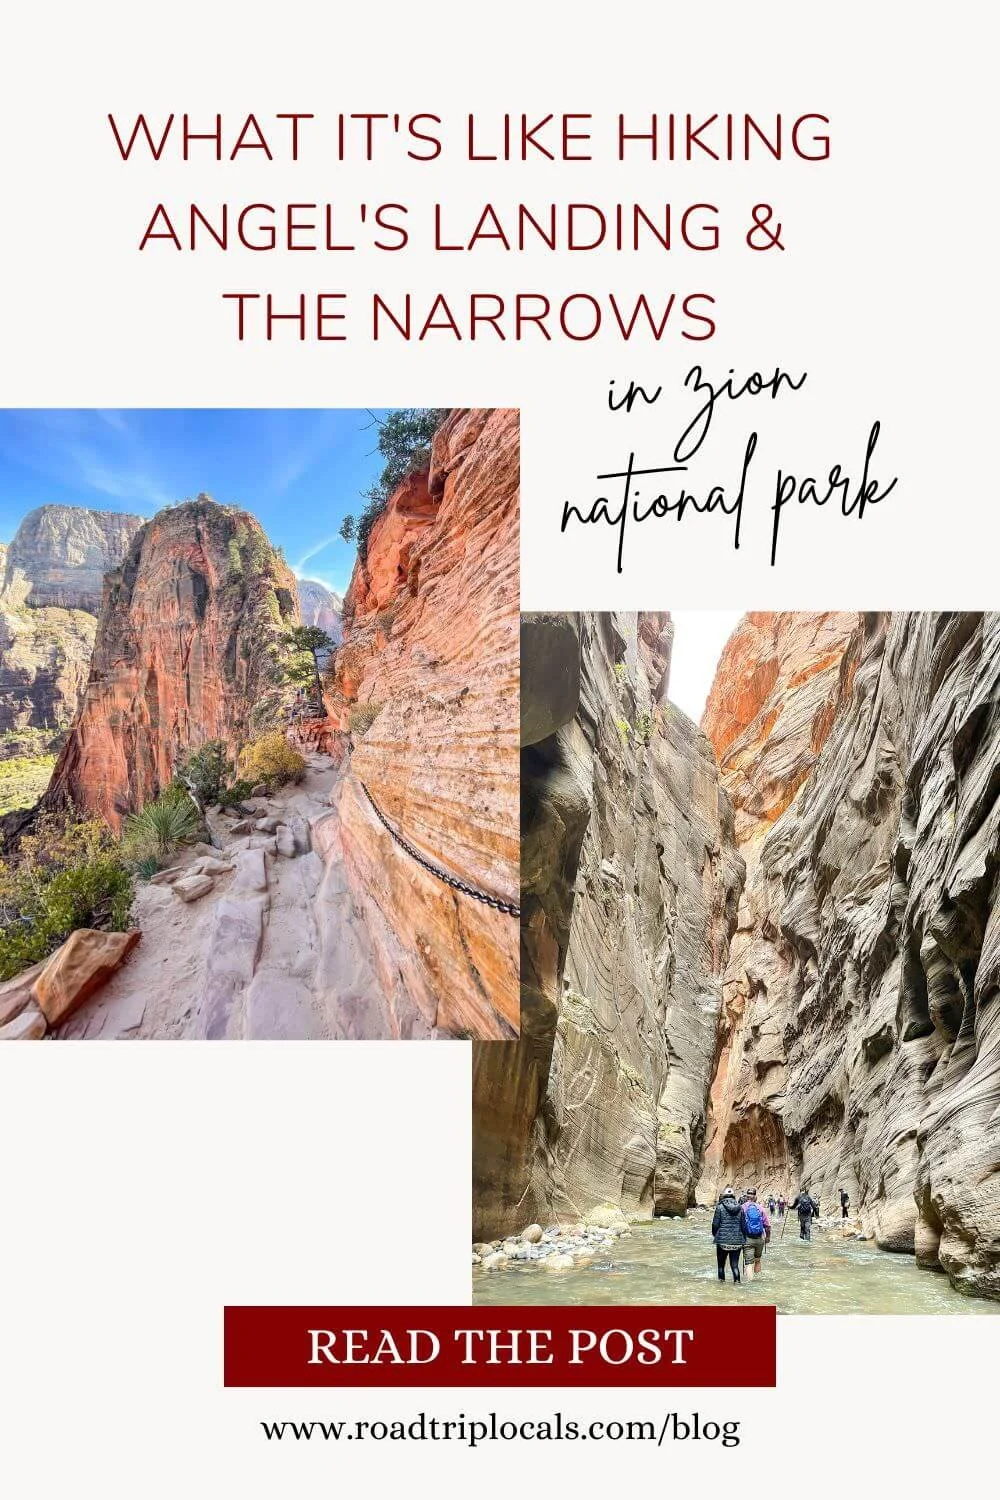

What it’s like to hike Angel's Landing & The Narrows in Zion National Park

Two of the most unique things to do in Zion National Park include walking through the narrowest section of Zion Canyon (appropriately called ‘The Narrows’) and climbing to the top of Angel’s Landing.
These are two iconic hikes when you’re talking about US national parks, and they contain some of the most classic views in all of Zion Canyon.
If you’re ready for an adventure you’ll think about for years to come, here’s what to expect when you hike Angel’s Landing and The Narrows, and how to complete both in one day!

Zion Canyon Scenic Drive
Table of Contents Hide
How to get to Zion National Park
The Narrows and Angel’s Landing are both in Zion National Park. To visit, you can road trip or fly into either Las Vegas (closest airport) or Salt Lake City. (Learn more about roadtripping or traveling to Zion National Park here.)
Once in Southern Utah, you can stay in the park or a nearby city such as Springdale or Kanab. We personally recommend staying in Kanab if you’re interested in visiting more than just Zion National Park during your trip. There are so many amazing things to do and see from Kanab. Here are 10 jaw-dropping sights you can visit from Kanab, Utah.
But if you’re only visiting for a short amount of time and want to tackle Angel’s Landing and The Narrows in one day or a weekend, stay as close to the park as possible. Consider Zion Lodge (in the park), camping (book reservations here), or staying in the nearby town of Springdale.
Where to park for Angel’s Landing and The Narrows
If you’re visiting during peak season, you’ll park at the Zion Canyon Visitor Center and board a shuttle bus. This is because Zion Canyon Scenic Drive is open to shuttle buses only from spring through fall.
Generally, shuttles run daily from March through November, on weekends in February and March, and during the week(s) at the end of December surrounding the holidays.
When the shuttle is running, Zion Canyon Scenic Drive is closed to private vehicles.
You do not need advanced reservations to ride a park shuttle. Shuttle buses are first come, first serve and connect the Zion Canyon Visitor Center with all stops along the Zion Canyon Scenic Drive. The stops are labeled from #1 (The Zion Canyon Visitor Center) to #9 (Temple of Sinawava). The Zion Lodge is located at Stop #5. (If you’re staying at the Zion Lodge, you can board the shuttle bus there.)
Shuttles run daily, all day long, during peak seasons. You can hop on and off the shuttle at any numbered stop. This is how you’ll move back and forth between attractions and hikes in Zion National Park. Hop on the shuttle bus to start your day, then hop off at the stop corresponding to the activity you want to do. Once complete, hop back on the shuttle bus for your next stop. You can find the stops and their corresponding hikes here. (Also in the image below.)
It takes the shuttle about 45 minutes to drive from Stop #1: Zion Canyon Visitor Center, to Stop #9: the Temple of Sinawava. Learn more about the Zion shuttle system and check the hours of operation during your visit here. Generally, shuttles in peak season run daily from 6am to 8pm.
Note: If you’re staying in Springdale (or the parking lot at the Zion Canyon Visitor Center is full), you can park in Springdale and ride The Springdale Line. This Springdale shuttle provides shuttle service in Springdale to Zion National Park. This shuttle will take you to the park's pedestrian/bike entrance at Zion Canyon Village, where you can then board the park shuttle at the Visitor Center.
Riding both the Springdale and Zion Canyon Shuttle is free. You do not need a reservation. For most areas in Zion Canyon, you will also not need a permit or reservation. Pay the park fee when you enter (or show your national park pass), then board a shuttle bus and explore as you’d like!
However, you will need a permit to hike to the top of Angel’s Landing (from Scout’s Lookout to Angel’s Landing, which is the portion of the Angel’s Landing hike that requires the use of chains).
You do not need a permit to hike the Narrows, although water levels (and flash flood warnings) can prevent safe exploration of the Narrows. Be sure to check park conditions here before you go.

Image of shuttle stops from NPS.gov
Best time of year to hike Angel’s Landing and The Narrows
Because both of these hikes are moderately strenuous and lengthy, we recommend hiking in late spring, summer, or early fall when you have extended daylight.
The summer will generally be the warmest, so if you’d like to enjoy more comfortable temperatures, consider September or early October. These shoulder-season months are also great for avoiding peak summer crowds. If possible, hiking on weekdays will be generally less crowded than weekends. Early fall tends to be better than Spring for safe conditions on the Narrows.
We recommend visiting Zion National Park in late September or early October.
How to hike both Angel’s Landing and The Narrows in one day
First things first, you’ll need to win a permit to hike to the top of Angel’s Landing. You can enter the seasonal lottery to apply for a permit before your trip. If you do not get a permit, you can apply again the day before your hike. Here, you’ll find seasonal lottery dates. (You enter during a selected window for dates that fall within another window.) When the window for your desired date is open, apply through recreation.gov.
Note: If you do not get a permit for Angel’s Landing, you will only be able to hike to ‘Scout’s Lookout’. This is still a great, beautiful hike, but you will not be able to climb ‘The Spine’ (which is the section of the hike that requires the use of chains) or stand on top of Angel’s Landing.
If you’re nervous about heights or don’t get a permit, you can hike to Scout’s Lookout and turn around. Otherwise, you’ll need a permit to continue onward.
To hike both Angel’s Landing and The Narrows in one day, secure your permit for Angel’s Landing. You do not need a permit or reservation to hike The Narrows or enter Zion National Park.
Then, decide which hike to tackle first. We recommend hiking Angel’s Landing first. This way, you won’t be thinking about it all day (in case you’re nervous!), and you’ll have plenty of time to complete the hike without rushing.
For Angel’s Landing, grab the first shuttle of the day and head to Stop #6: The Grotto. Plan for your hike to Angel’s Landing to take about 4 hours. If you take the first shuttle of the day, you should finish your hike late morning to midday.
Then you can eat lunch, board another shuttle bus to Stop #9, and start the Narrows hike in the early afternoon. Plan about 3-3.5 hours for The Narrows. Walk as far as you’d like, keeping an eye on weather conditions (including flash floods), sunset time, and the time of the last shuttle. (We recommend walking about two hours to ‘Wall Street’.)
Then, return to where you started and board another bus back to your car. You should be back by early evening. What a day!

Map from the National Park Service. Angel’s Landing starts at Shuttle Stop #6, The Grotto. The Narrows begins at Shuttle Stop #9, Temple of Sinawava. (Look for the pinpoints on the map above.) The Zion Canyon Visitor Center, where you’ll likely park your car and board the shuttle, is toward the bottom of the map.
Best time to arrive
Like most national parks, it’s best to arrive early or stay late to minimize crowds and make your exploration more enjoyable. The Zion shuttle buses fill up quickly, and so do many of Zion’s most popular attractions.
We recommend starting your day first thing (aim to get on the first shuttle bus of the day).
If you’re not able to arrive first thing in the morning, consider saving the more popular attractions (like Angel’s Landing and the Narrows) for late afternoon instead. (Most people arrive mid-morning, around 8-10, to start these hikes. Many will finish by early to mid-afternoon.) If you do this, make sure you feel comfortable with the trail you’re hiking and how long it’ll take you to finish your hike so you end before sundown and have time to board a shuttle bus back to your lodging.
The other best way to avoid crowds in national parks is to walk further than the main areas. While you won’t be able to do this on Angel’s Landing (because you’ll follow a designated path, requiring the use of chains, to the top of Angel’s Landing), it is possible when you’re hiking the Narrows.
On the day we hiked the Narrows, we arrived to the East Entrance of Zion around 9am. It was about 11:15 by the time we parked at the Visitor Center, boarded a shuttle bus, and arrived at Stop #9 (where the Narrows Trail begins).
The beginning of the Narrows was busy (although not as busy as I would have expected) but thinned out the further we walked. If you walk to ‘Wall Street’, you’ll likely find moments of solitude or get pictures without too many others in the frame. That said, the Narrows is big enough that you won’t often be waiting to pass hikers (especially if you’re willing to walk through the water or visit during a shoulder season month). You’ll just be having fun and marveling at what you’re doing: walking through the Virgin River along the narrowest sections of Zion Canyon!
What to expect hiking Angel’s Landing
Now that we’ve set the scene, let’s start with Angel’s Landing and what to expect on this hike!
Angel’s Landing was my favorite thing to do in Zion National Park. (And one of my top 5 favorite hikes of all time.)
There are definitely moments of “I-can’t-believe-I’m-doing-this” as you look down at your feet, just a few inches away from a 100% vertical drop-0ff, but this is truly one of those hikes that’s just fun!
Plus, it’s one of those hikes that leave you feeling accomplished and highly aware (similar to what you might feel after meditation). It’s a brain break from what you usually think about because all you can actually think about is putting one foot in front of the other (or one hand in front of the other) and not looking down too often, ha!
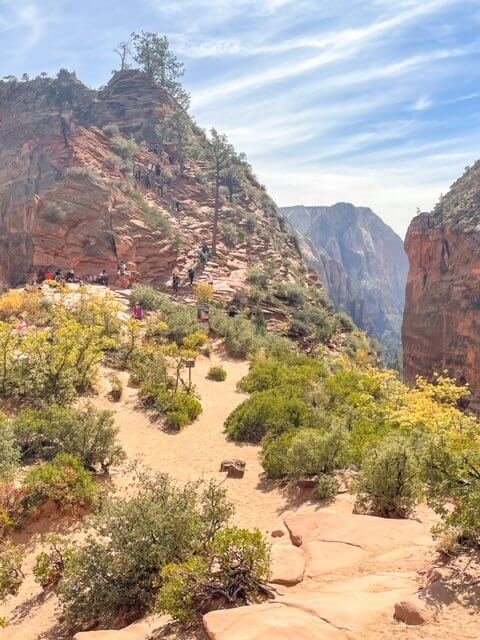
So ride the shuttle bus to Stop #6, then hop off the bus and walk across the street to the Angel’s Landing welcome sign. Then, start following the uphill paved terrain to a group of switchbacks (zig-zag paths).
The view is gorgeous as you climb, so take your time and turn around to take in Zion Canyon when you need a break.

You can see the trail towards the right of the above image. You follow a gradual uphill, then start a series of “switchbacks” (zig-zag path). You can see a glimpse at the initial switchbacks in the bottom right-hand corner.
Walter’s Wiggles & Scout’s Lookout
After this, you’ll walk through a little shade before reaching ‘Walter’s Wiggles’, a second set of uphill switchbacks.
Then, you’ll be at ‘Scout’s Lookout’, where you can either turn around after taking in the view… Or continue toward Angel’s Landing. (Note: Hiking beyond Scout’s Lookout requires a permit.)
The hike is not overly scary before Scout’s Lookout, but it is moderately strenuous.
When Jon and I arrived at Scout’s Lookout, we enjoyed the view, had a snack, and waited for crowds to quiet. The next section (which requires the use of chains for support as you climb) is called ‘The Spine’. The Spine is what most people refer to when talking about Angel’s Landing, but know you can hike to Scout’s Lookout without using any chains. The view is gorgeous from Scout’s Landing!

Walter’s Wiggles
Scout’s Lookout
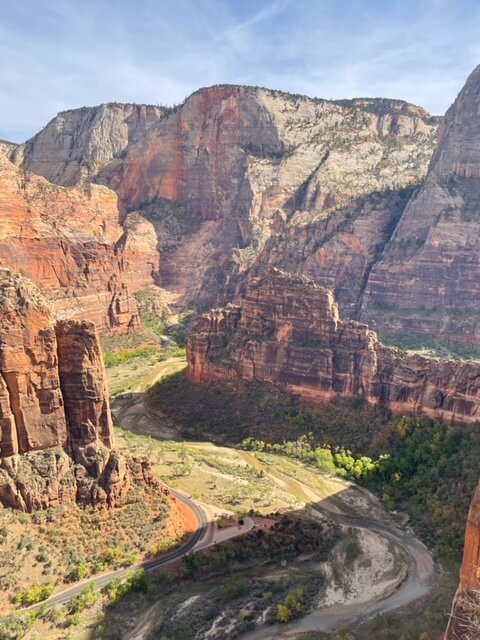
Left-hand side view from Scout’s Lookout
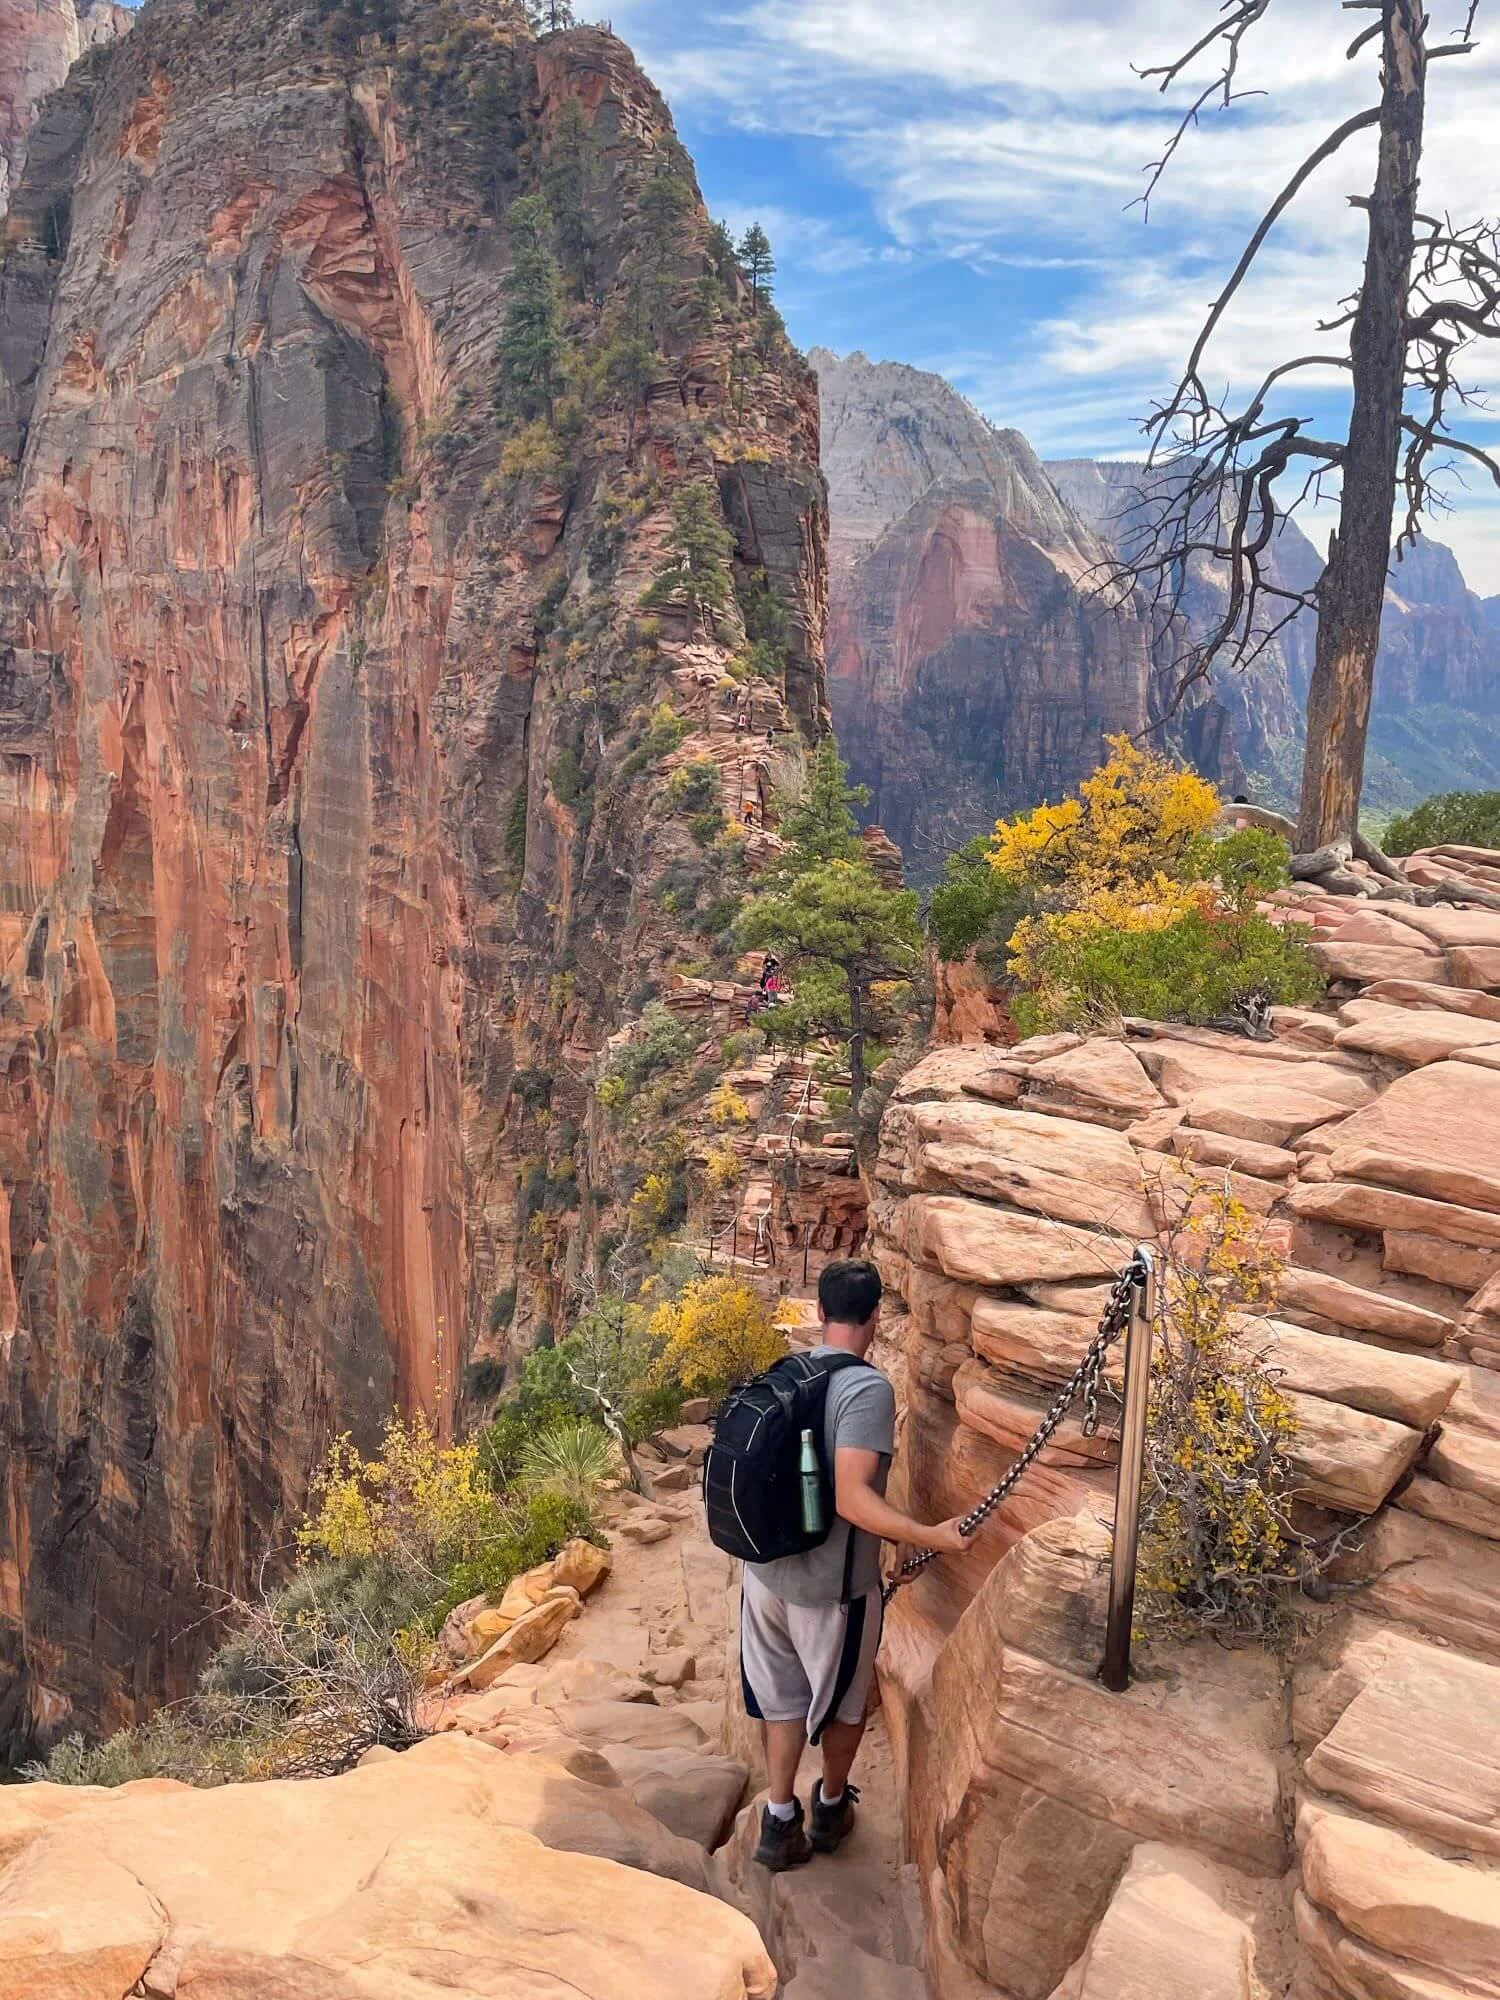
The Spine
This is probably the section you’re most excited about or most nervous about.
This is the section of Angel’s Landing that requires the use of chains. This section is also out-and-back. This means both those hiking toward Angel’s Landing and those returning from Angel’s Landing hike the same path and use the same anchored chain. There will likely be moments during your hike when you must allow someone to pass you or you must pass someone else.
This isn’t as nerve-wracking as it seems, but it does help to wait and start ‘The Spine’ when you see a gap in groups returning. This way, you can get comfortable hiking alongside chains without having to also navigate around someone moving in the opposite direction.
Note: In the middle image above (the one labeled ‘Scout’s Lookout’), you can see the start of The Spine in the background. That is the section I recommend waiting to start until there’s a gap in groups returning. Below, you’ll see two additional pictures taken further along the Spine.

Top of Angel’s Landing
Look at the picture above on the left. Follow the chain and the hiking path until you reach the top of the first rock formation. (It looks like a curve or a rollercoaster.) That is Angel’s Landing. According to the NPS, it was given its name by minister Frederick Vining Fisher after allegedly quipping only an angel could land there.
That’s where you’re headed!
This last bit of the hike is incredible. Then you’re on top of the world, marveling at one of the most gorgeous views in Zion National Park.
Personally, this part of the hike made me more nervous than any part of the Spine. While hiking alongside the chains, you’re focused intently on putting one foot in front of the other and keeping your hands on the chain. So much so that you’re only looking down when it’s safe to do so (when you feel comfortable to do so). But on top of Angel’s Landing, there’s no chain support, and you’re VERY aware of how high up you’re standing!
The view on top of Angel’s Landing is well worth the effort and the night before nerves. And overall, once our feet were back on solid ground, we could really acknowledge just how much fun we had on this trail. It’s gorgeous. It’s an adventure. It’s a memory to have for years to come!

Post-Hike Thoughts to Know Before You Go
As soon as we finished hiking to Angel’s Landing, I wrote down a few notes to remember how we felt. It was one of the best hikes I’d ever done, and I wanted to remember as much as possible.
Here are a few things to know before you start your epic hike!
THIS IS A WORKOUT. One of the first things I wrote down was that it felt like we’d done 1000 squats. I didn’t notice this while hiking, but as soon as we were back to the trailhead, I could feel the effects of the climb (and the effort required). Parts of this hike are as strenuous as they are thrilling. If you’re a beginner hiker or nervous about heights, consider only hiking to Scout’s Landing on your first trip. Then decide if you’d feel comfortable hiking further and try to get a permit for the next day.
BALANCE NERVES AND CROWDS. There are two things worth balancing as you hike to Angel’s Landing: nerves (keeping your nerves in check) and crowds (which can make you more nervous as there’s only one path to follow to hike to the top of Angel’s Landing). Because I was nervous, we hiked Angel’s Landing as our first hike of the day. But since we were driving into the park from Kanab, Utah, we didn’t actually start until midday. This actually worked out okay, as we had plenty of daylight to finish this hike without rush, and the morning crowd was leaving as we arrived. If you’re nervous about hiking Angel’s Landing, do it first thing. If you’re relatively comfortable with thrills and heights, consider an early afternoon hike when crowds are fewer.
WATCH YOUR STEP (NOT THE HEIGHT). Overall, Angel’s Landing was not as scary as I thought it would be. Go slow, don’t be in a rush, and give yourself plenty of time to traverse The Spine. Be courteous, watch your step (not the cliffs if you’re nervous), and hold on... but then, every once in a while, look at the view when you feel safe and comfortable to do so. It’s incredible! :)
Give yourself about 3.5-4 hours for this hike and soak it all up. This was one of my all-time favorite hikes and one of those adventures that makes you feel like a kid again!

How to hike The Narrows
Next up, you’ll reboard a shuttle bus and travel from Shuttle Stop #6 to Shuttle Stop #9 to tackle the Narrows.
While hiking Angel’s Landing was my favorite thing to do in Zion National Park, hiking The Narrows took top billing for friends we were traveling with.
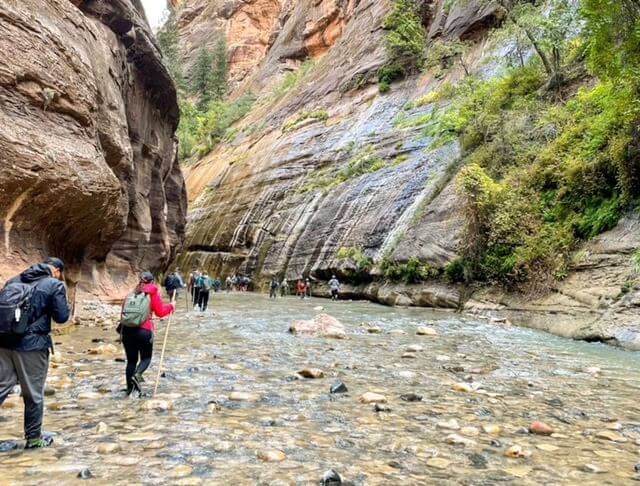
This is another activity where you feel like a big kid, wading through the Virgin River at the base of Zion Canyon. It’s incredible! … And cold, ha!
There are some places you’ll be able to walk along the shore, but in many places, you have to walk straight through the water. This is the fun of hiking The Narrows but dress accordingly. Most people rented waterproof pants and boots from a local outfitter. Some brought or rented hiking poles and hired guides. And then there were a few hikers dressed like us - in regular tennis shoes or hiking boots, shorts, and sweatshirts.
There was something magical about feeling the water on our bare legs as we trekked, but we would have probably enjoyed walking further had we dressed in waterproof attire. Our friends said they’d go again in shorts, while I would probably rent gear to be more comfortable and walk the full 16-mile through-hike.


What to expect hiking The Narrows
The Narrows is one of the most popular hikes at Zion National Park, so prepare for crowds no matter what time you’re visiting. If you’re visiting Zion for more than one day, you may want to hike The Narrows first thing on your second morning to minimize crowds.
Otherwise, like most hikes, crowds will thin out the further you trek!
You must get your feet wet to hike The Narrows. You’ll be walking through the Virgin River. There will be sections of this hike where you can rest on dry land, but most of this hike requires wading through water. This is part of the fun and why you hike the Narrows, but dress accordingly.
You should also expect to be walking almost entirely on rocky, slippery terrain, whether you’re wading through the water or walking along the shore. This hike requires a lot from your ankles, knees, and stabilizing muscles and will test your balance. A walking stick is recommended, as are closed-toe shoes with good grip.
While you may be tempted to wear water shoes, we do not recommend doing so. One friend we were traveling with wore water shoes and wished she hadn’t by the end - the lack of stability is tough because the path is so rocky.

What to wear to hike The Narrows
Since you’re walking on wet, uneven ground, closed-toe shoes with heavy-duty soles and a good grip are recommended. A walking stick is also recommended for support. (Bonus: A walking stick will help you know how deep the water is in areas where you can’t see the bottom. This helps avoid falls from unexpectedly deep steps.)
You can bring or rent waterproof pants and boots, or you can hike in shorts and tennis shoes. The water is cold, but there was something fun about feeling the water against your skin as you trek. Just be cognisant of how long you’re in the cold water and bring an extra pair of dry clothes in case you need them.
How far to hike along The Narrows
This is an amazing, unique, beautiful hike, and pictures just don’t do it full justice. Absolutely recommend seeing The Narrows and exploring the canyon for as long as you can.
If possible, walk at least as far as “Wall Street”. This is where the canyon becomes even more narrow. We turned around at “Floating Rock,” about 3.7 miles from the shuttle stop. This is in the heart of the Wall Street Section. Personally, I would have been okay turning around earlier in “Wall Street” as I was getting quite cold, but seeing this even narrower section of The Narrows was worth it.
You’ll reach the start of the Wall Street section about 3 miles into your hike.
Are Angel’s Landing and The Narrows worth it?
Angel’s Landing and The Narrows are absolutely worth the effort if you want an adventure and to experience these iconic views for yourself.
That said, both of these hikes can be challenging and dangerous. Make sure you feel comfortable with heights and are prepared for both the physical and mental challenge of Angel’s Landing.
For the Narrows, be aware of weather conditions by checking the weather forecast and flash flood potential before starting your trip. Also be sure to dress appropriately for the water temperature (and pack extra dry clothing).
Is Angel’s Landing or The Narrows dog-friendly?
No, Angel’s Landing and The Narrows are not dog-friendly trails. Most trails at Zion National Park are not dog-friendly. (According to the National Park Service website, the Pa’rus Trail, which begins at the Visitor Center, is the only dog-friendly trail in Zion.)
Keep planning your trip to Utah
Want to visit all 5 national parks in Utah? Click here for a Mighty 5 Road Trip Itinerary (which includes Zion National Park, Bryce Canyon, Canyonlands, Capitol Reef, and Arches National Park).
If you have more time in Southern Utah, here are 9 jaw-dropping things to see near Zion National Park!
Please leave us a comment below
Which hike would you rather do: Angel’s Landing, The Narrows, or both? We’d love to hear from you in the comments below!
Save this itinerary for a future road trip
Hover over the image below and click on the red “Save” button that pops up in the upper lefthand corner of the image to save this on Pinterest for later. (If you’re on mobile, you might have to tap the image first to see the red ‘Save’ button.)